✅ This article is verified by team GamingHarsh | Sept, 2022
I am sure you are lost In Elden Ring: Elden Ring offers players a variety of ways to finish the game. These endings range from straightforward and simple to more elusive and subtle. The Frenzied Flame is one of the several endings that can be unlocked by players. This flame is somewhat obscured and difficult to locate if you don’t know where to look. For more information, refer to the guide below on how to obtain the Frenzied Flame in the Elden Ring.
Perfect Walkthrough: Where To Get Frenzied Flame Seal In Elden Ring (August 2022)

Heads Up Information Prior to Starting
You must progress through the story until you reach the Royal Capital of Leyndell in order to access the Frenzied Flame. Right now, you can go to the capital’s sewers. You travel through the sewers to get to the Frenzied Flame. Remember that you can explore the sewage systems of the Ashen or Royal Capitals. What transpires at the Forge of the Giants is affected by your acceptance of the Frenzied Flame:
- Before you burn the Erdtree, accept the flame, or Melina will leave your side. At the forge, you get burned.
- Melina will set herself on fire in the forge if she accepts it after burning the Erdtree (like the standard story).
Whichever option you choose, the conclusions are still very similar. Therefore, bear that in mind while you decide. Additionally, bear in mind that obtaining the Frenzied Flame forces you to follow a predetermined course unless you obtain Miquella’s Needle to undo the impact. This entails finishing Millicent’s quest line and defeating the game’s toughest boss.
Make sure you defeat Morgott before you may access the flame. Otherwise, a seal on the door will prevent you from opening it. After you’ve fought Morgott, the seal will break, allowing you to enter the platforming puzzle part.
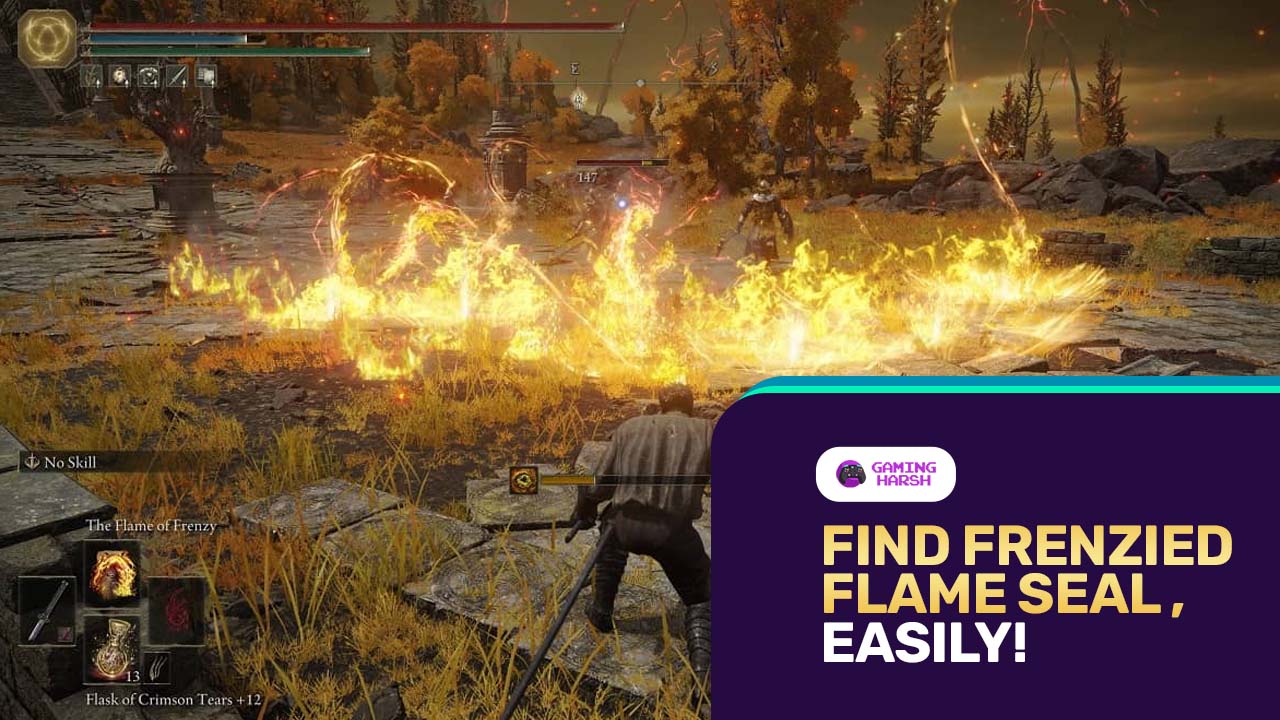
ELDEN RING THE FLAME OF FRENZY GUIDE
- Frenzied Flame Incantation
- Stamina Cost: 30
- Low Cost Incantation (16 Focus Points per cast)
- Uses only 1 Memory Slot
- Requires Low Faith (16)
- Deals Fire Damage.
- Inflicts Madness buildup on both the caster (4 per flame) and targets (21 normal/28 charged per hit)
- When Madness bar is filled, the player will lose FP and take health damage.
- Cast Speed is fast
- Can be chain-casted as long as player has enough FP
- Charging up the skill will create more flames.
Wiki: Where To Get Frenzied Flame Seal In Elden Ring
Quick Links Of The Month:
Let us take a look at Where To Get Frenzied Flame Seal In Elden Ring
Go Into the Sewers of the Royal Capital
You can access the sewers once you arrive at the Leyndell, Capital City in walls (as pointed out in the comments below). To accomplish this, navigate the city until you come to the Avenue Balcony Site of Grace in the centre of it. Head down the stairs that lead northwest from this Site of Grace. After passing through the double doors, turn left. Run beside the railing until you reach the dragon’s tail, then jump over it to get to a well. Enter the well. To enter the sewers, open the cage door and move forward.
Go Into the Ashen City Sewers
Don’t worry if you didn’t go to the sewer while the city was operating normally. A situation happens that causes the city to be covered in ash after the main plot has advanced. As a result, the town becomes Leyndell, Capital of Ash. Follow the road south from Leyndell, the Ash Site of Grace, until you come to an open sewer cover. Take care as you use the various platforms to carefully descend the pit. You will be in Leyndell’s sewers at the bottom.
Reach the Cathedral of the Forsaken
You must make it to the Frenzied Flame door at the very bottom of the sewers if you want to be subjected to the Frenzied Flame. There get to the as a result, one must go a considerable distance in the sewers. You’ll enter a hallway inside the sewers. There are a few huge foes in this lengthy passageway. In order to access the Underground Roadside Site of Grace, enter the room from the east and proceed through the first open doors on your left. Once more in the hallway, head east until you come to several grates. To access the tunnel below, descend through the grate’s hole.
- Rats are everywhere in the tunnel below.
- When a tunnel is on your right, continue walking in this tunnel to the northwest.
- Enter the tunnel on your right here.
- Put some sort of light source in place.
- There are holes in the tunnel, so you’ll need to be able to see clearly to avoid falling through one of them.
- Once you get at a hole in the ground, continue forward through the tunnel.
- Leap over the gap.
- Continue moving forward.
- Ignore the tunnel to your left and proceed up the incline in the opposite direction.
- Jump over a second hole in the ground at the top of the rise.
- Take a right at the T and proceed through the gate.
- When you reach a room, keep moving forward.
- In this space, climb the ladder.
- Move forward and unlock the twin doors at the top-floor room.
- Before entering, turn the gate and pull the lever to open it.
- By doing so, a shortcut to the previous Underground Roadside Site of Grace becomes accessible.


